November 16, 2010 - Comments Off on Photographing sculptures
Photographing sculptures
A photograph of a sculpture is not the sculpture.
I try to shoot my portfolio images in RAW format, because jpegs from my camera tend toward the blue and cold. Using the RAW importer in Photoshop lets me choose the white point, which controls the color of the image.
To get the most out of an image, I open two versions in Photoshop: a warm and a cool. I stack the layers, adjust for contrast, and use the warm image for the piece, and the cool for the background. This creates tension, and makes the background recede and the object come forward.

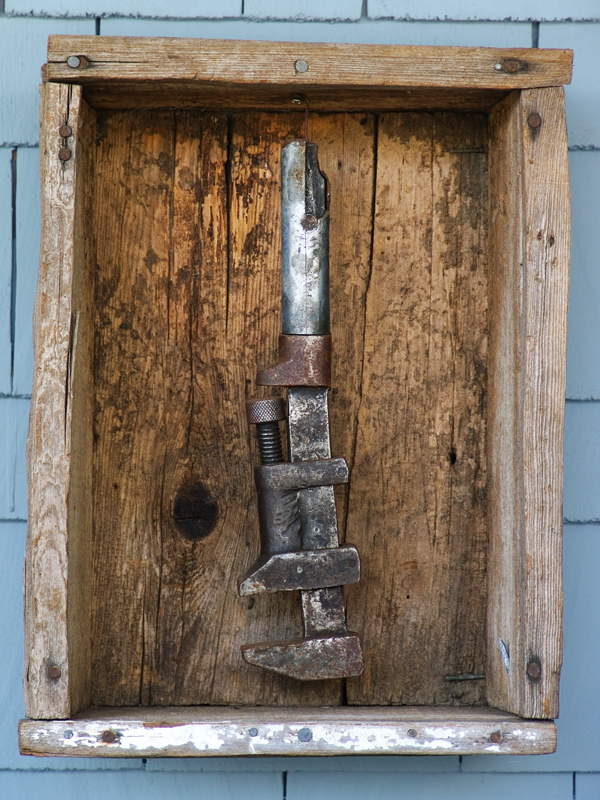
The lighting is flat (I shot this on a covered porch on an overcast Oregon day), and the RAW and the JPG images are both soft, low contrast pictures.
To increase the contrast and sharpness, and make the image more appealing, I layered a warm and cool image together. I played with the Blend Modes, setting a copy of the image to "Hard Light" to bring in more contrast.
The thumbnail images show the layers and settings. From the bottom-most layer:
- COOL image as the background layer.
- WARM image above it, set to Hard Light, at 90%. It has a layer mask to show only the box.
- WARM layer copy, including mask, set to Lighten, at 34%.
- A Curves layer, with a simple "S" curve.
Save the large, layered PSD file, and save flat copies at web-resolution.. Later, you can go back and shut off the mask on the "Lighten" layer, or tweak the Curves, and save another copy. Non-destructive photo editing is good.


Comments are closed.